How to Use the Numbering System for Service Items and Documents in Microsoft Dynamics 365 Business Central
Introduction
Efficient management of service items, invoices, and other documents is vital for businesses, and Microsoft Dynamics 365 Business Central offers a robust numbering system to help streamline these processes. This system not only simplifies the identification and management of various documents but also enhances data accuracy and reduces errors. Understanding how to configure and use this numbering system can significantly improve your workflow and operational efficiency.
Business Value
A well-designed numbering system plays a crucial role in managing and analyzing company data. It helps in tracking service items, invoices, and documents, ensuring that each entry is unique and systematically organized. The benefits include:
- Improved Data Management: Unique identifiers for each document make tracking and managing service items and invoices more straightforward.
- Enhanced Analysis: Easier data retrieval and analysis with structured numbering, facilitating better business insights.
- Error Reduction: Automated numbering reduces manual entry errors and helps avoid duplication or mismanagement of documents.
Requirement
How effectively do we use the numbering system for service items and documents?
Prerequisites
- You are using the latest version of Microsoft Dynamics 365 Business Central.
- You have the necessary permissions to set up and modify the number series.
Solution (Implementation Steps)
- Setting Up for New Documents:
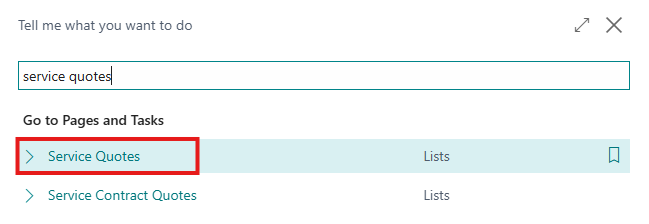
- Click on the Search icon and type Sales Quotes. Select the Sales Quotes page from the search results.
-
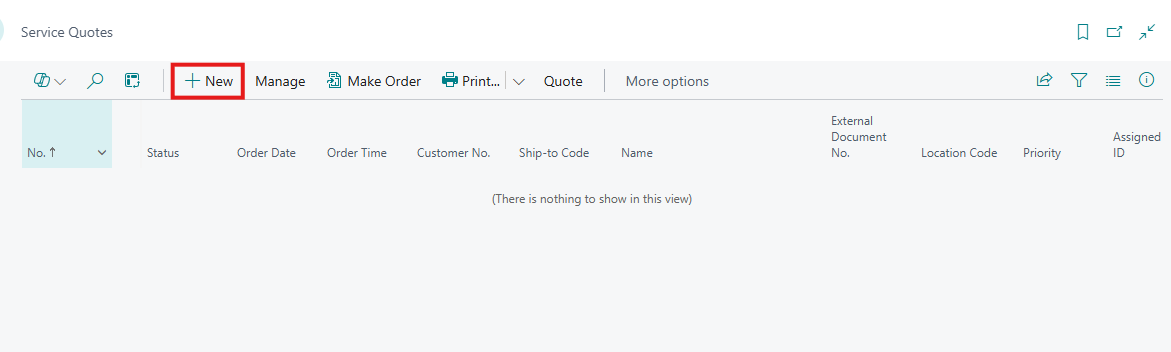
- Open Existing Quotes or create new one by clicking on +new
-
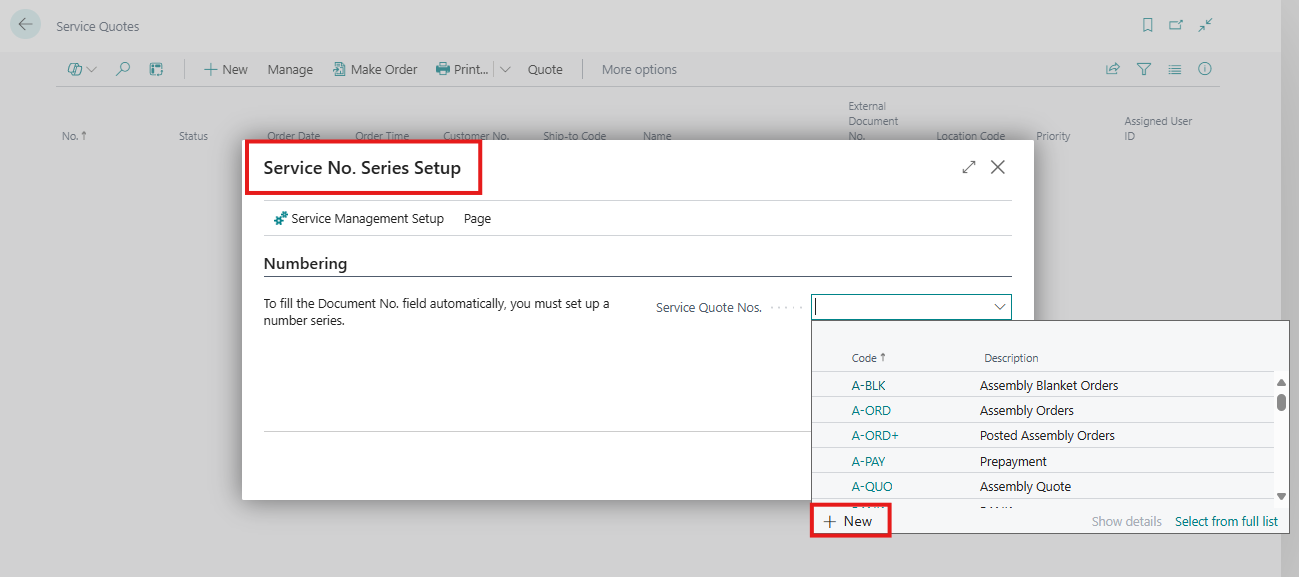
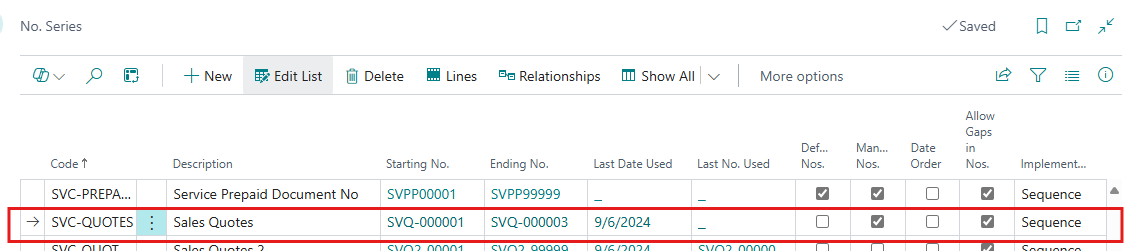
- When opening a new document or card without an existing No. series, the No. Series Setup page will automatically open. User can create a new No. series for that document type. To Create New No. Series by clicking on +New
-
- To create a new Number series, click on +New.

-
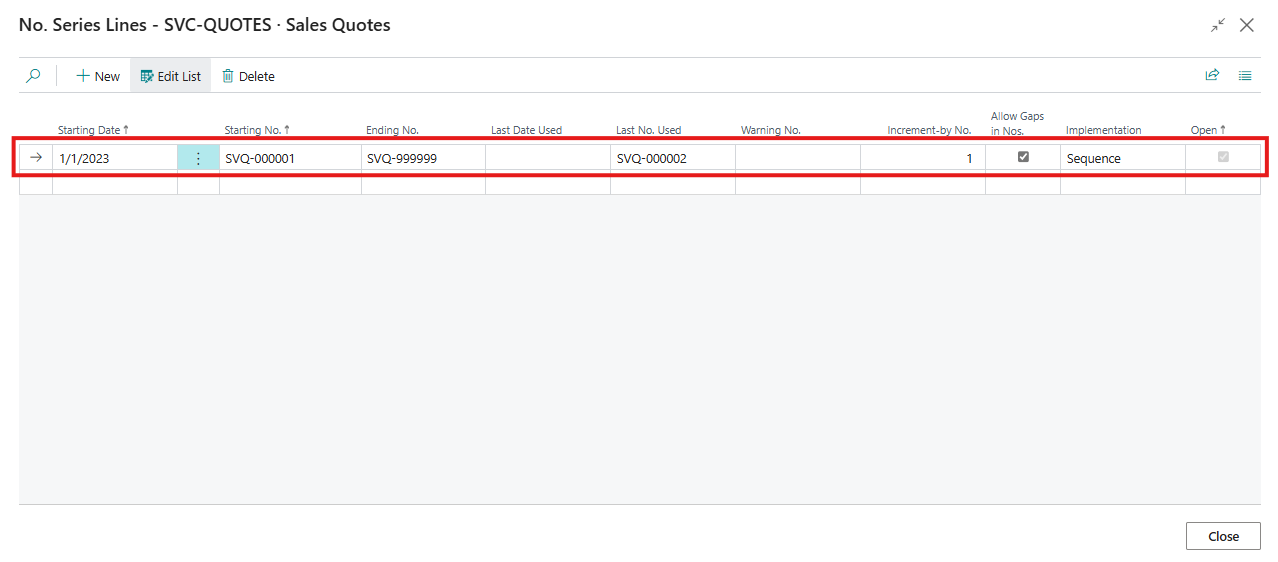
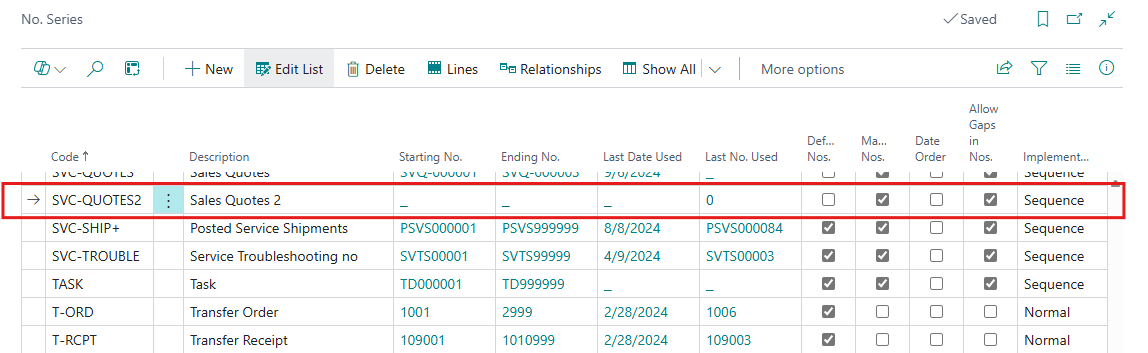
- Enter the details such as the series Name, Starting No. And Ending No. and format. Define the number format and specify whether the series should be used automatically or manually.
- Automatic Numbering:
- On the No. Series Page for a No. series with only one option and the “Default Nos.” field selected.
-
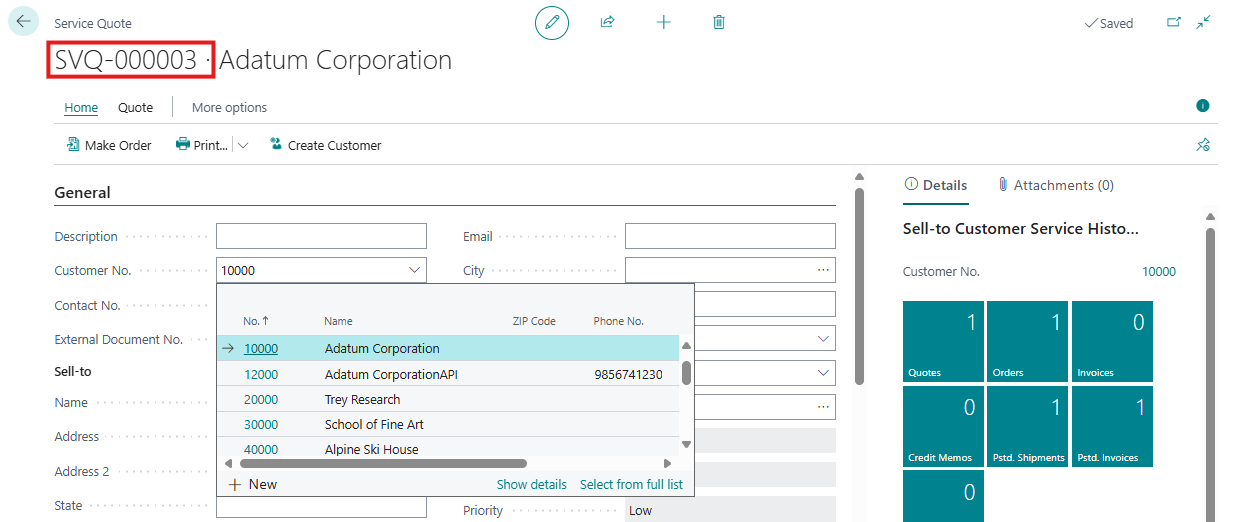
- Go to Search icon and type Sales Quotes and Select the Sales Quotes To create new Quotes by clicking on +New option. The No. field will auto-fill with the next number in the series when the user selects Customer no. The No. field will be invisible on the document or card.
- Multiple Number Series:
- If multiple number series exist and the Default Nos. checkbox is not selected.
-
- Users can manually select the number series from the No. Series page. On the Service Quotes page, the No. field will display the next number in the selected series. Click on three dots of Field.
-
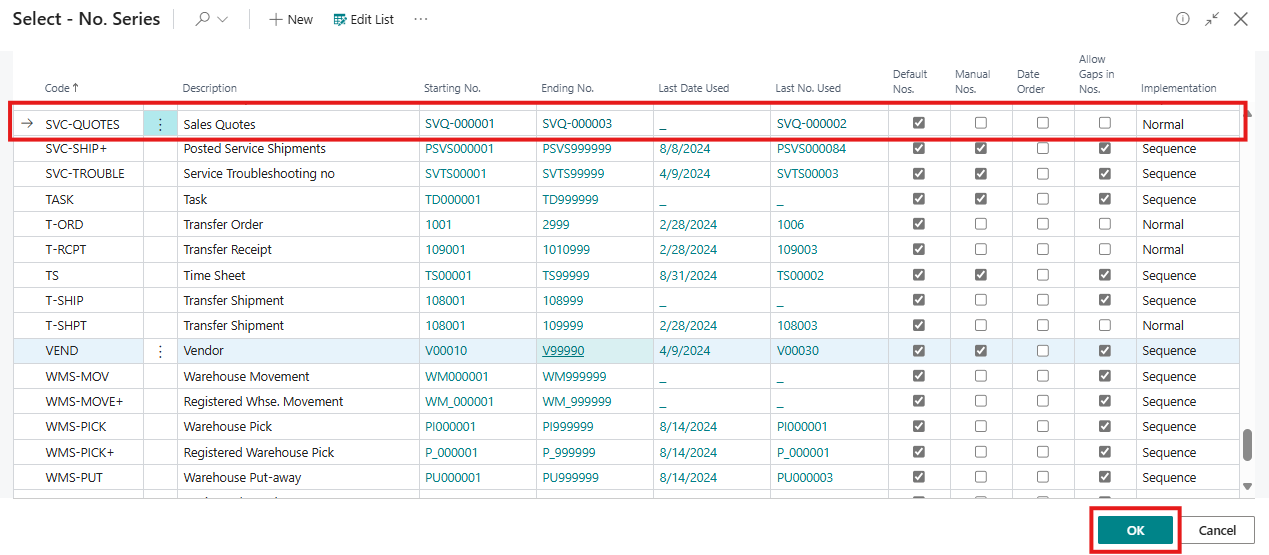
- Series page will open click on three dots > Show All > Show All option.
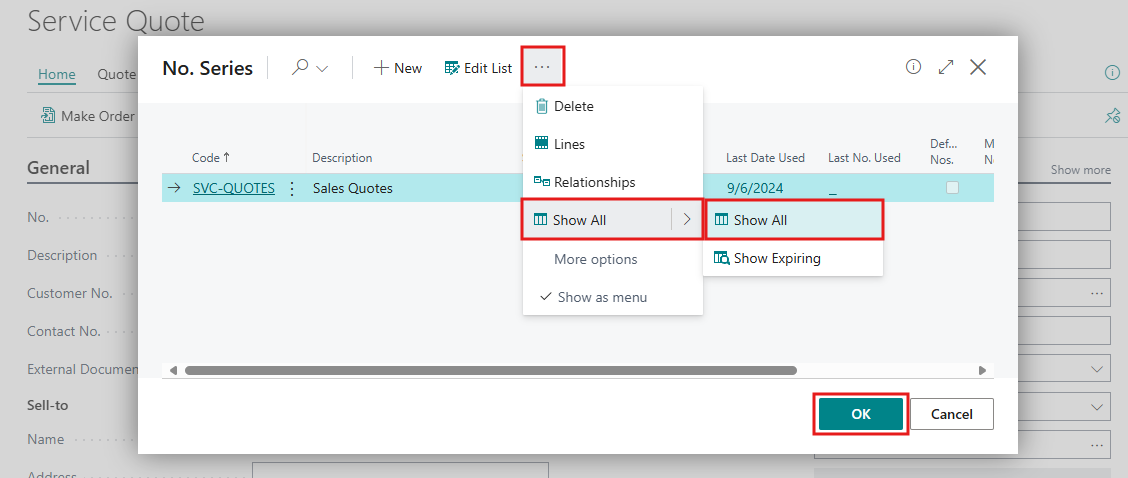
-
- This will open the Series list page. Select one of the No. Series and click OK.
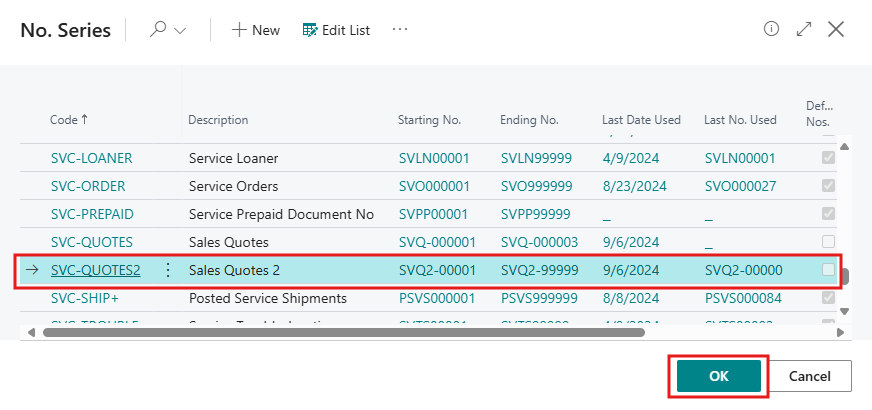
-
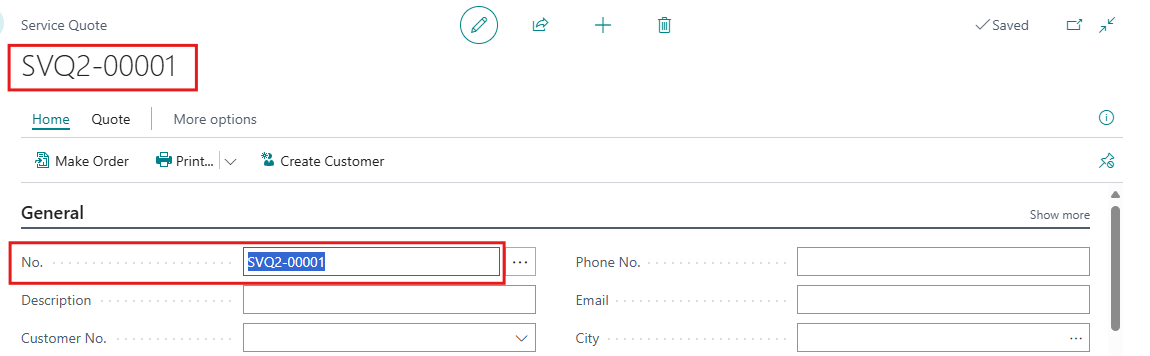
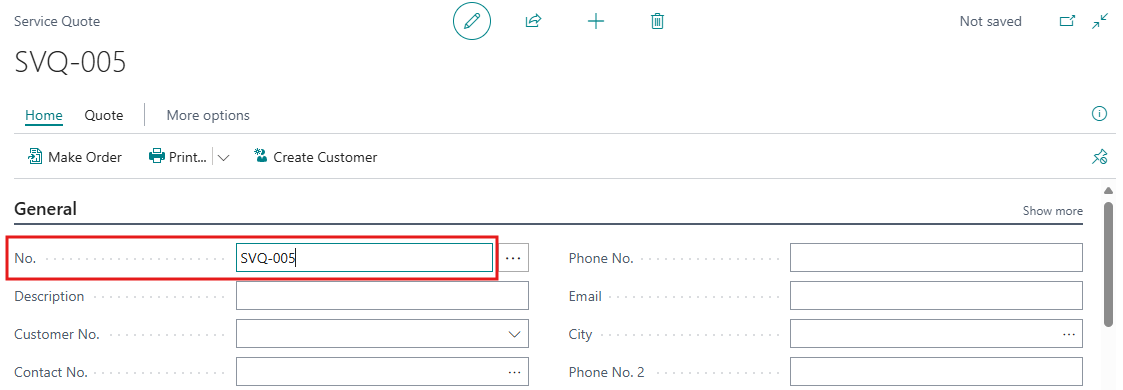
- This will assign a Series Number to the service quotes, as shown in the screenshot below.
- Manual Numbering:
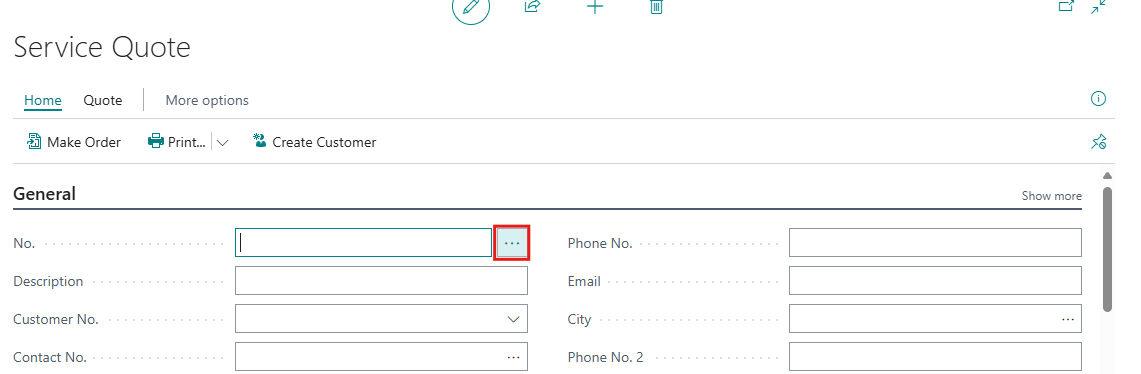
- If no No. Series is set up or the “Manual Nos.” field is selected, you must manually enter a number of up to 20 characters, including both numbers and letters.
-
- Go to Search icon and type Sales Quotes and Select the Sales Quotes To create new Quotes by clicking on +New option. Users can add numbers manually in No. Field.
Conclusion
Utilizing the numbering system in Microsoft Dynamics 365 Business Central helps ensure that your service items, invoices, and documents are systematically organized and easily identifiable. By setting up number series, configuring document numbering, and enabling manual entry where needed, you can streamline your data management processes, reduce errors, and improve overall operational efficiency. Implementing these practices will enhance your ability to track and analyze business activities effectively.